

I have not touched the mod code I wrote for a couple years now. When Arun and Aditya Gupta wrote their book, the current version of Minecraft was 1.8. That was five years ago, and the current version is 1.15. Some things have changed. I want to document what I need to do to get my old mods running again on the newer version.
My starting point is that I have a working version of Minecraft and the comparable version of forge. Lets take it from there.
I am running Intellij community, which I downloaded from here:
https://www.jetbrains.com/idea/download/download-thanks.html?platform=linux&code=IIC
Download the source version of Forge Minecraft Developer’s Kit (MDK) from here: http://files.minecraftforge.net/
This is a messy Zip file, in that it does not put things into subdirectories. So, create one and then unzip this file into the directory where you are going to work. I work ~/idea/forge.
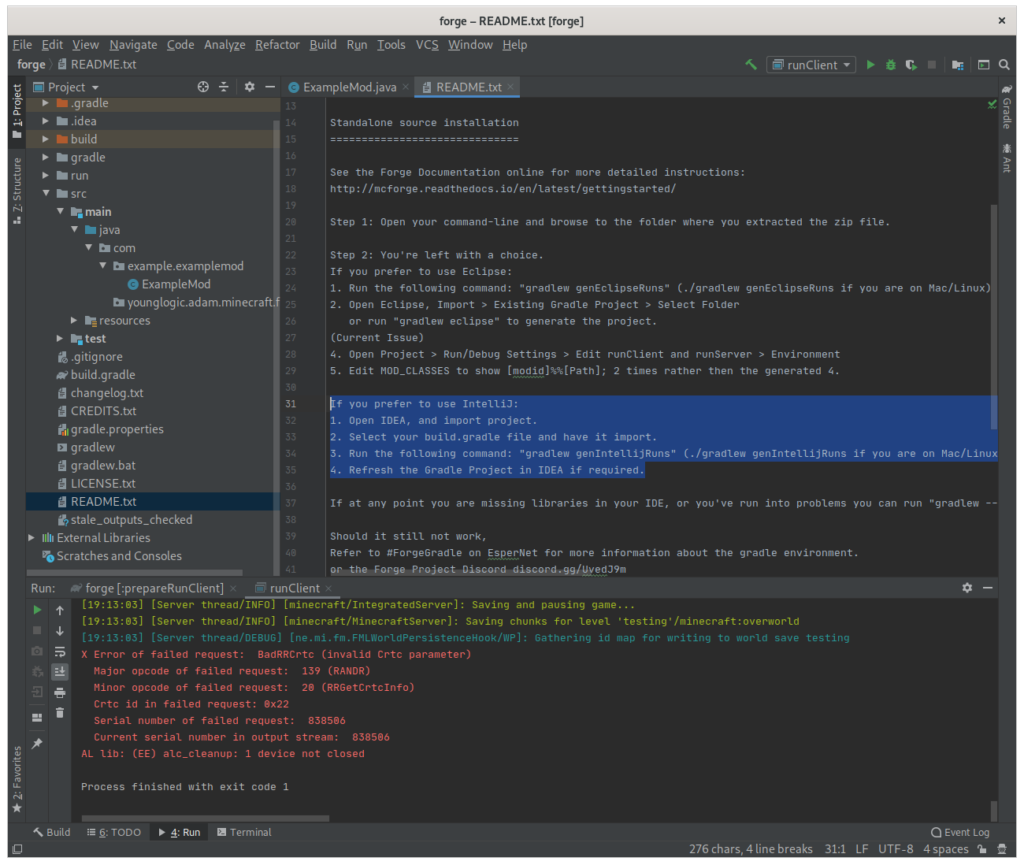
Once you unzip it, read the README file inside. It gives the steps to perform next. I followed the instructions that had the following steps:
“If you prefer to use IntelliJ:
- Open IDEA, and import project.
- Select your build.gradle file and have it import.
- Run the following command: “gradlew genIntellijRuns” (./gradlew genIntellijRuns if you are on Mac/Linux)
- Refresh the Gradle Project in IDEA if required.”
With that imported I can run the project and the sample mod using the little green triangle on the top right of the screen next to the words “runClient.” This is a drop down that has a few options. If yours does not say “runClient” pull it down and change the selection.
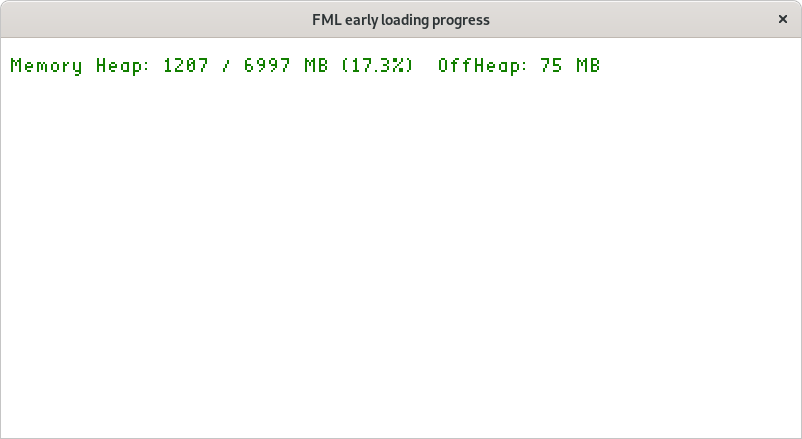
If you have not run forge before, you will see that there is a bunch of new information on the screen as Minecraft runs. You get a white screen that shows Heap data etc.
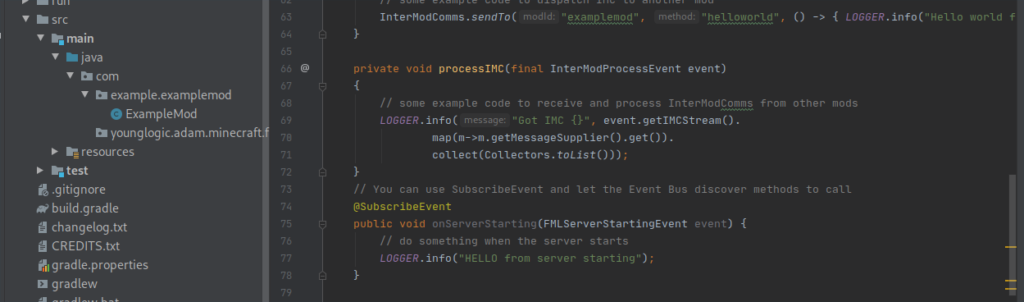
I teach people that, when coding, you should always build from success. For now, that means that you confirm the sample mod runs. How? Looking at the code. Using the tree view on the left, Open the file:
src/main/java/com/example.examplemod
we can see that there is a some logging put out when the code runs. Specifically, the block of code below shows “HELLO from server starting”
Create a new world on singleplayer mode and enter it. This starts the “server” running.
At the bottom of the Intelij screen, you will see the logging output. If you scroll through the large number of log messages produces, you can find this message.

“Build from success” means we make the smallest change possible before moving on. Since I am writing this tutorial, in part, for my cousin, I am going to change the code in Intellij to look like this:
// You can use SubscribeEvent and let the Event Bus discover methods to call @SubscribeEvent public void onServerStarting(FMLServerStartingEvent event) { // do something when the server starts LOGGER.info("HELLO Primo: from server starting"); } |
And hit save. Intellij is nice and compiles the code for you once you save it, you do not need to do anything.
You do need to restart the server, which takes time, but hey, we all have lots of time now, right? Quit the game, and then reclick that green triangle.

At this point, I started trying to follow the process of the book, but found things had changed enough that I could not. So, I skipped ahead to the exploding Anvils. But that is a tale for another…article.
Happy Hacking!