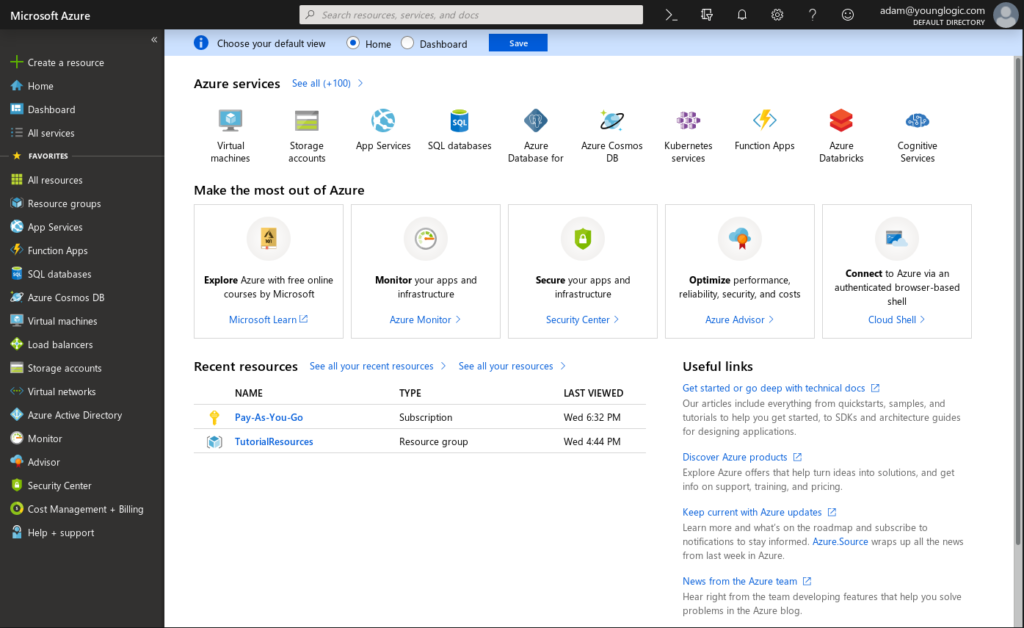
While Azure figured prominently in my work about a year ago, I have not had as much to do with it again until recently. I had to relearn everything I had set up last year. As a Keystone and FreeIPA developer, I was focused on identity. Thus, it is somewhat ironic that I had problems getting my head around the identity setup when using Ansible to manage Azure. Here are the steps I went through to go from using the Web Portal to getting Ansible to work. Part one gets through the identity stuff.
Table of contents
Portal
Since I burnt through my free Azure time last year, I have to pay for this. I have set up a credit card etc. To login, I go to portal.azure.com which bounces me to a single sign on page, and then back to the portal.
Using the UI to create a Resource Group and then a VM is pretty well documented, and I will skip over that here. Next was to use the Command Line Interface (CLI).
Command Line Interface
It turns out that the CLI is supported in Fedora. All I had to do to get it was to yum install.
sudo yum install azure-cli-2.0.54-1.el7.x86_64 -y |
The first step is to perform a login. That kicks up a browser for Single Sign On:
$ az login Note, we have launched a browser for you to login. For old experience with device code, use "az login --use-device-code" |
I find this a little frustrating, as it is not something I would want to have happen in a scriptable environment. I realize it makes the intial workflow easy, but it makes it harder to figure out how to script azure without human interaction.
Once the SSO is complete, I get a json block displayed in the command line prompt window.
[
  {
    "cloudName": "AzureCloud",
    "id": "9ffc4e5a-a9c3-4c0b-b5ef-b6a7d7a90178",
    "isDefault": true,
    "name": "Pay-As-You-Go",
    "state": "Enabled",
    "tenantId": "a003ca9d-0f6b-4f3a-adc2-cd94f0ff402d",
    "user": {
      "name": "adam@younglogic.com",
      "type": "user"
    }
  }
] |
Next I want to figure out how to do that without using WebSSO. My WebSSO account fails when I do it as command line parameters
[ayoung@ayoungP40 azure]$ az logout [ayoung@ayoungP40 azure]$ az vm list Please run 'az login' to setup account. [ayoung@ayoungP40 rippowam]$ az logout [ayoung@ayoungP40 rippowam]$ az login -u adam@younglogic.com -p $AZ_PASSWORD The user name might be invalid. For cross-check, try 'az login' to authenticate through browser. |
So I did the interactive login again, then followed the rules here:
$ az ad sp create-for-rbac --name Rippowam Changing "Rippowam" to a valid URI of "http://Rippowam", which is the required format used for service principal names { "appId": "fb511363-5616-4b1b-a74e-9c7ace6887a3", "displayName": "Rippowam", "name": "http://Rippowam", "password": "<redacted>", "tenant": "a003ca9d-0f6b-4f3a-adc2-cd94f0ff402d" } |
And using that data I can now do a log in:
$ az login --service-principal --username http://Rippowam --password $PASSWORD --tenant a003ca9d-0f6b-4f3a-adc2-cd94f0ff402d |
[
  {
    "cloudName": "AzureCloud",
    "id": "9ffc4e5a-a9c3-4c0b-b5ef-b6a7d7a90178",
    "isDefault": true,
    "name": "Pay-As-You-Go",
    "state": "Enabled",
    "tenantId": "a003ca9d-0f6b-4f3a-adc2-cd94f0ff402d",
    "user": {
      "name": "http://Rippowam",
      "type": "servicePrincipal"
    }
  }
] |
$ az role assignment list --assignee fb511363-5616-4b1b-a74e-9c7ace6887a3
[
  {
    "canDelegate": null,
    "id": "/subscriptions/9ffc4e5a-a9c3-4c0b-b5ef-b6a7d7a90178/providers/Microsoft.Authorization/roleAssignments/7460d266-56be-4843-843a-53ed54e41ce0",
    "name": "7460d266-56be-4843-843a-53ed54e41ce0",
    "principalId": "92b12b1c-78ec-45b2-af40-4bb3130f8380",
    "principalName": "http://Rippowam",
    "roleDefinitionId": "/subscriptions/9ffc4e5a-a9c3-4c0b-b5ef-b6a7d7a90178/providers/Microsoft.Authorization/roleDefinitions/b24988ac-6180-42a0-ab88-20f7382dd24c",
    "roleDefinitionName": "Contributor",
    "scope": "/subscriptions/9ffc4e5a-a9c3-4c0b-b5ef-b6a7d7a90178",
    "type": "Microsoft.Authorization/roleAssignments"
  }
] |
Since all resources live in a (resource) group and a resource group lives in a location, I need to find a location to create a resource group:
[ayoung@ayoungP40 azure]$ az account list-locations | jq '.[] | .name ' "eastasia" "southeastasia" "centralus" "eastus" "eastus2" "westus" "northcentralus" "southcentralus" "northeurope" "westeurope" "japanwest" "japaneast" "brazilsouth" "australiaeast" "australiasoutheast" "southindia" "centralindia" "westindia" "canadacentral" "canadaeast" "uksouth" "ukwest" "westcentralus" "westus2" "koreacentral" "koreasouth" "francecentral" "francesouth" "australiacentral" "australiacentral2" |
So I’ll create a resource called Rippowam in East US 2:
[ayoung@ayoungP40 azure]$ az group create --name Rippowam --location "eastus2" |
{
  "id": "/subscriptions/9ffc4e5a-a9c3-4c0b-b5ef-b6a7d7a90178/resourceGroups/Rippowam",
  "location": "eastus2",
  "managedBy": null,
  "name": "Rippowam",
  "properties": {
    "provisioningState": "Succeeded"
  },
  "tags": null
} |
Now that I can use the CLI, it is time to try Ansible. That is in my next post.

